How to build your Bokashi composter and start composting today!
We moved to the suburbs and now I am composting. We simply eat a ton of veggies and generate some serious green waste. It makes me sad to send the scraps from high quality food off to a landfill to be buried with batteries and plastic bottles for eternity. I spent money on that organic trash yo. This lead me to begin the COMPOST QUEST although we are living in a town home with a professionally landscaped yard, so I am not sure where I will put it once complete. Oh well, hey it won’t be in the dump!
The Compost Quest
First off I bought a rotating composter to put on the porch. This filled up within about 3 weeks. Now it’s brewing for a while.
Then I bought a worm factory for the garage. The worms are hungry, but don’t knock out the compost as fast as I was hoping. Also not as stinky as one might think.
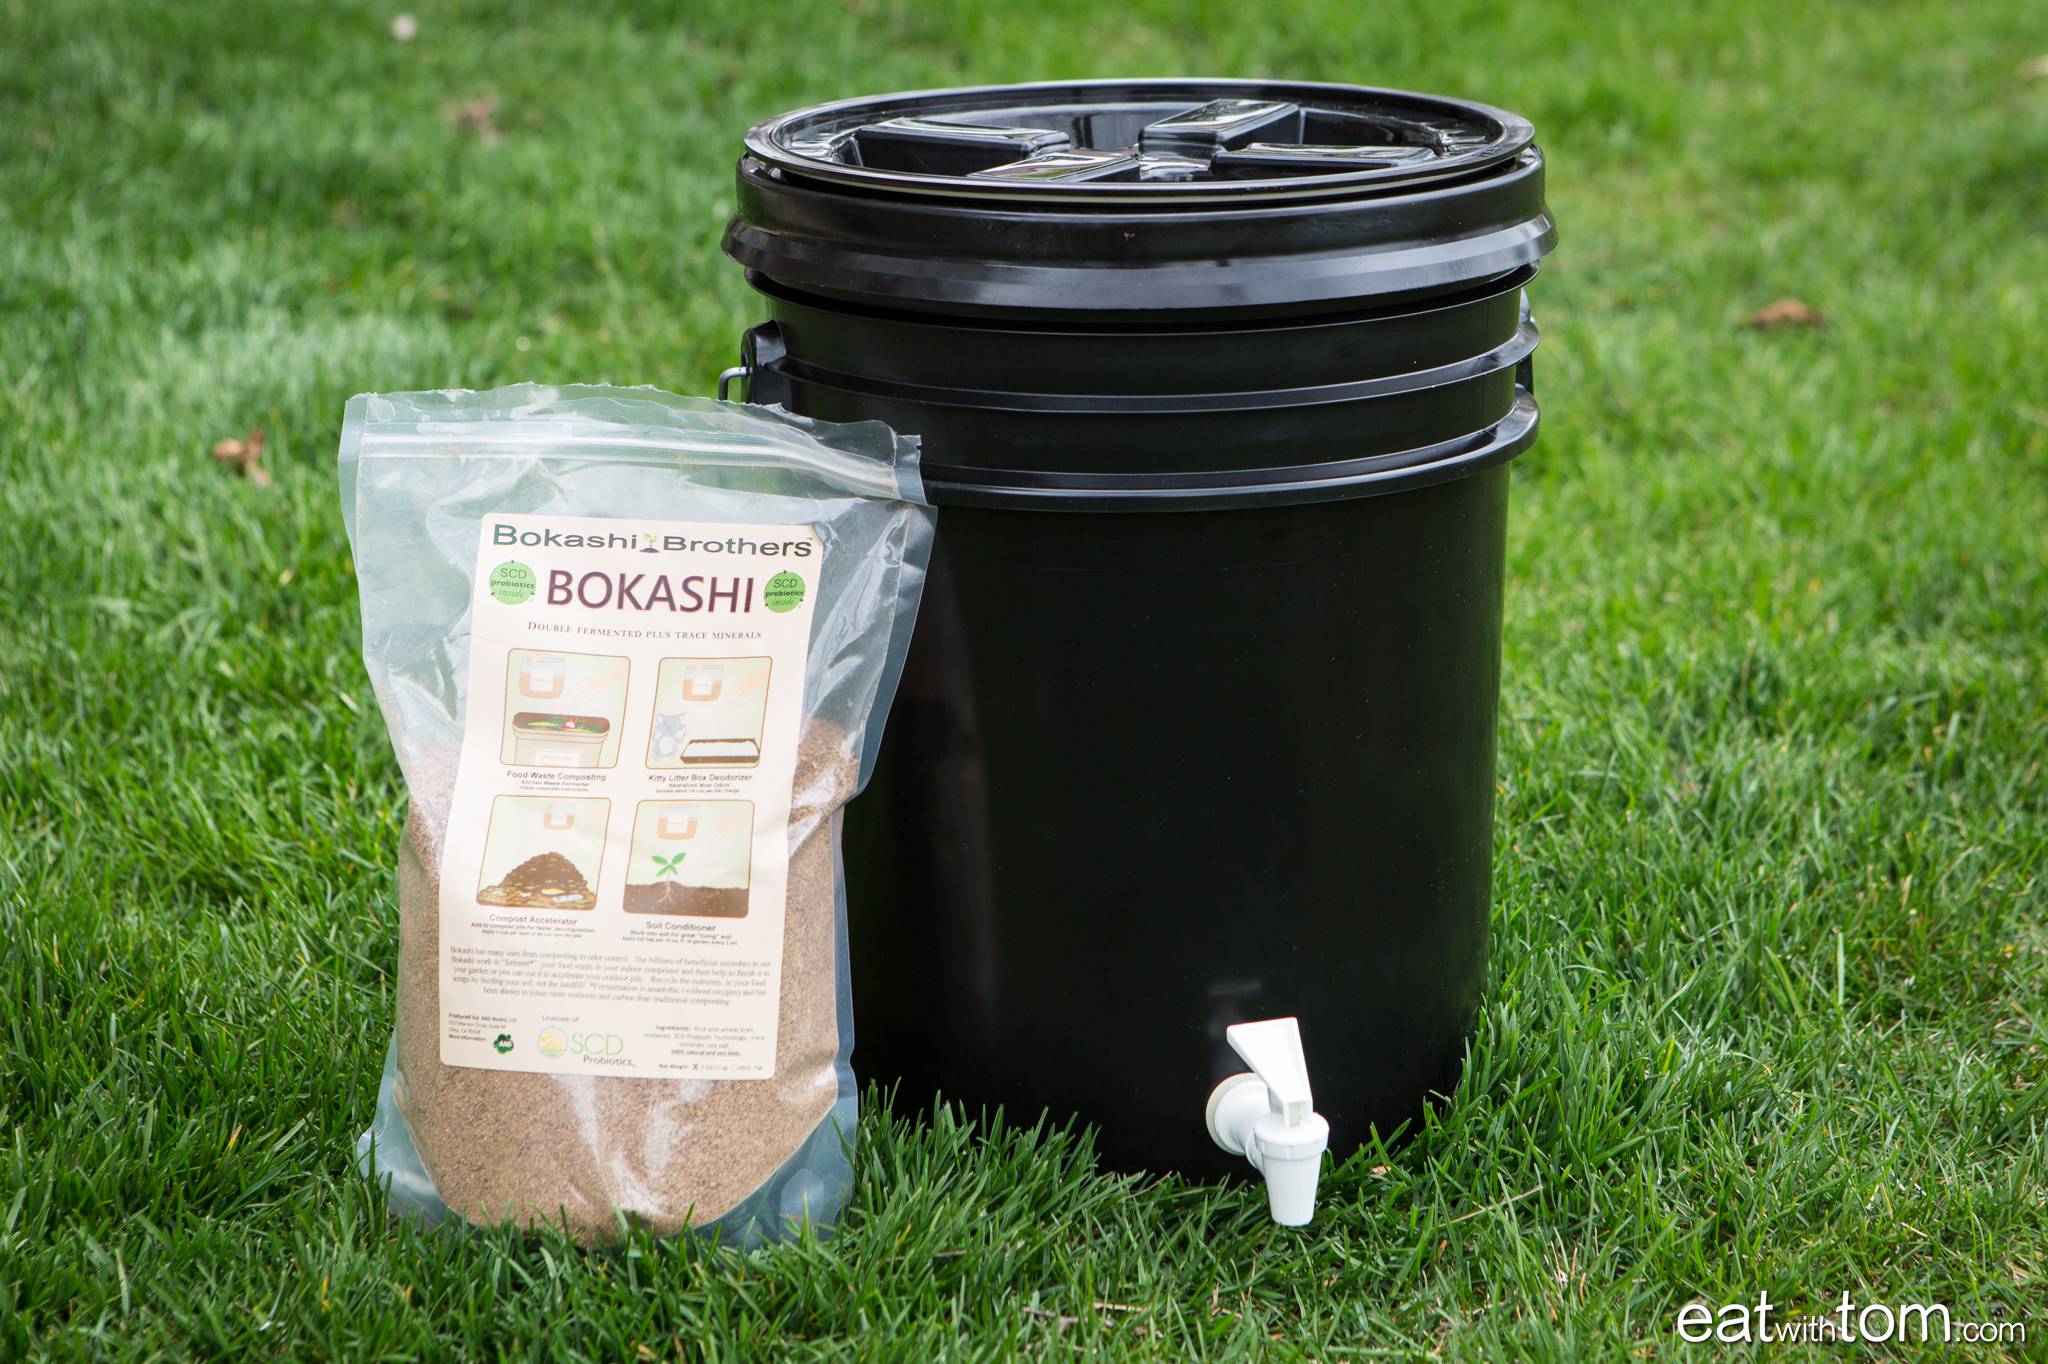
Now I am off to try the Bokashi composting method! There are a few great resources for supplies and buckets to compost, but they carry a significant price for a 5 gallon bucket with a spigot. This lead me to make a few Amazon and Uline orders so that I could DIY the Bokashi composter.
The Bokashi method boasts some major advantages over traditional composting, such as the ability to compost meat and dairy scraps, smell free (because it is a sealed environment), faster, etc. Can’t wait to see if it is true…
Let’s build a Bokashi Composter!
Supply List
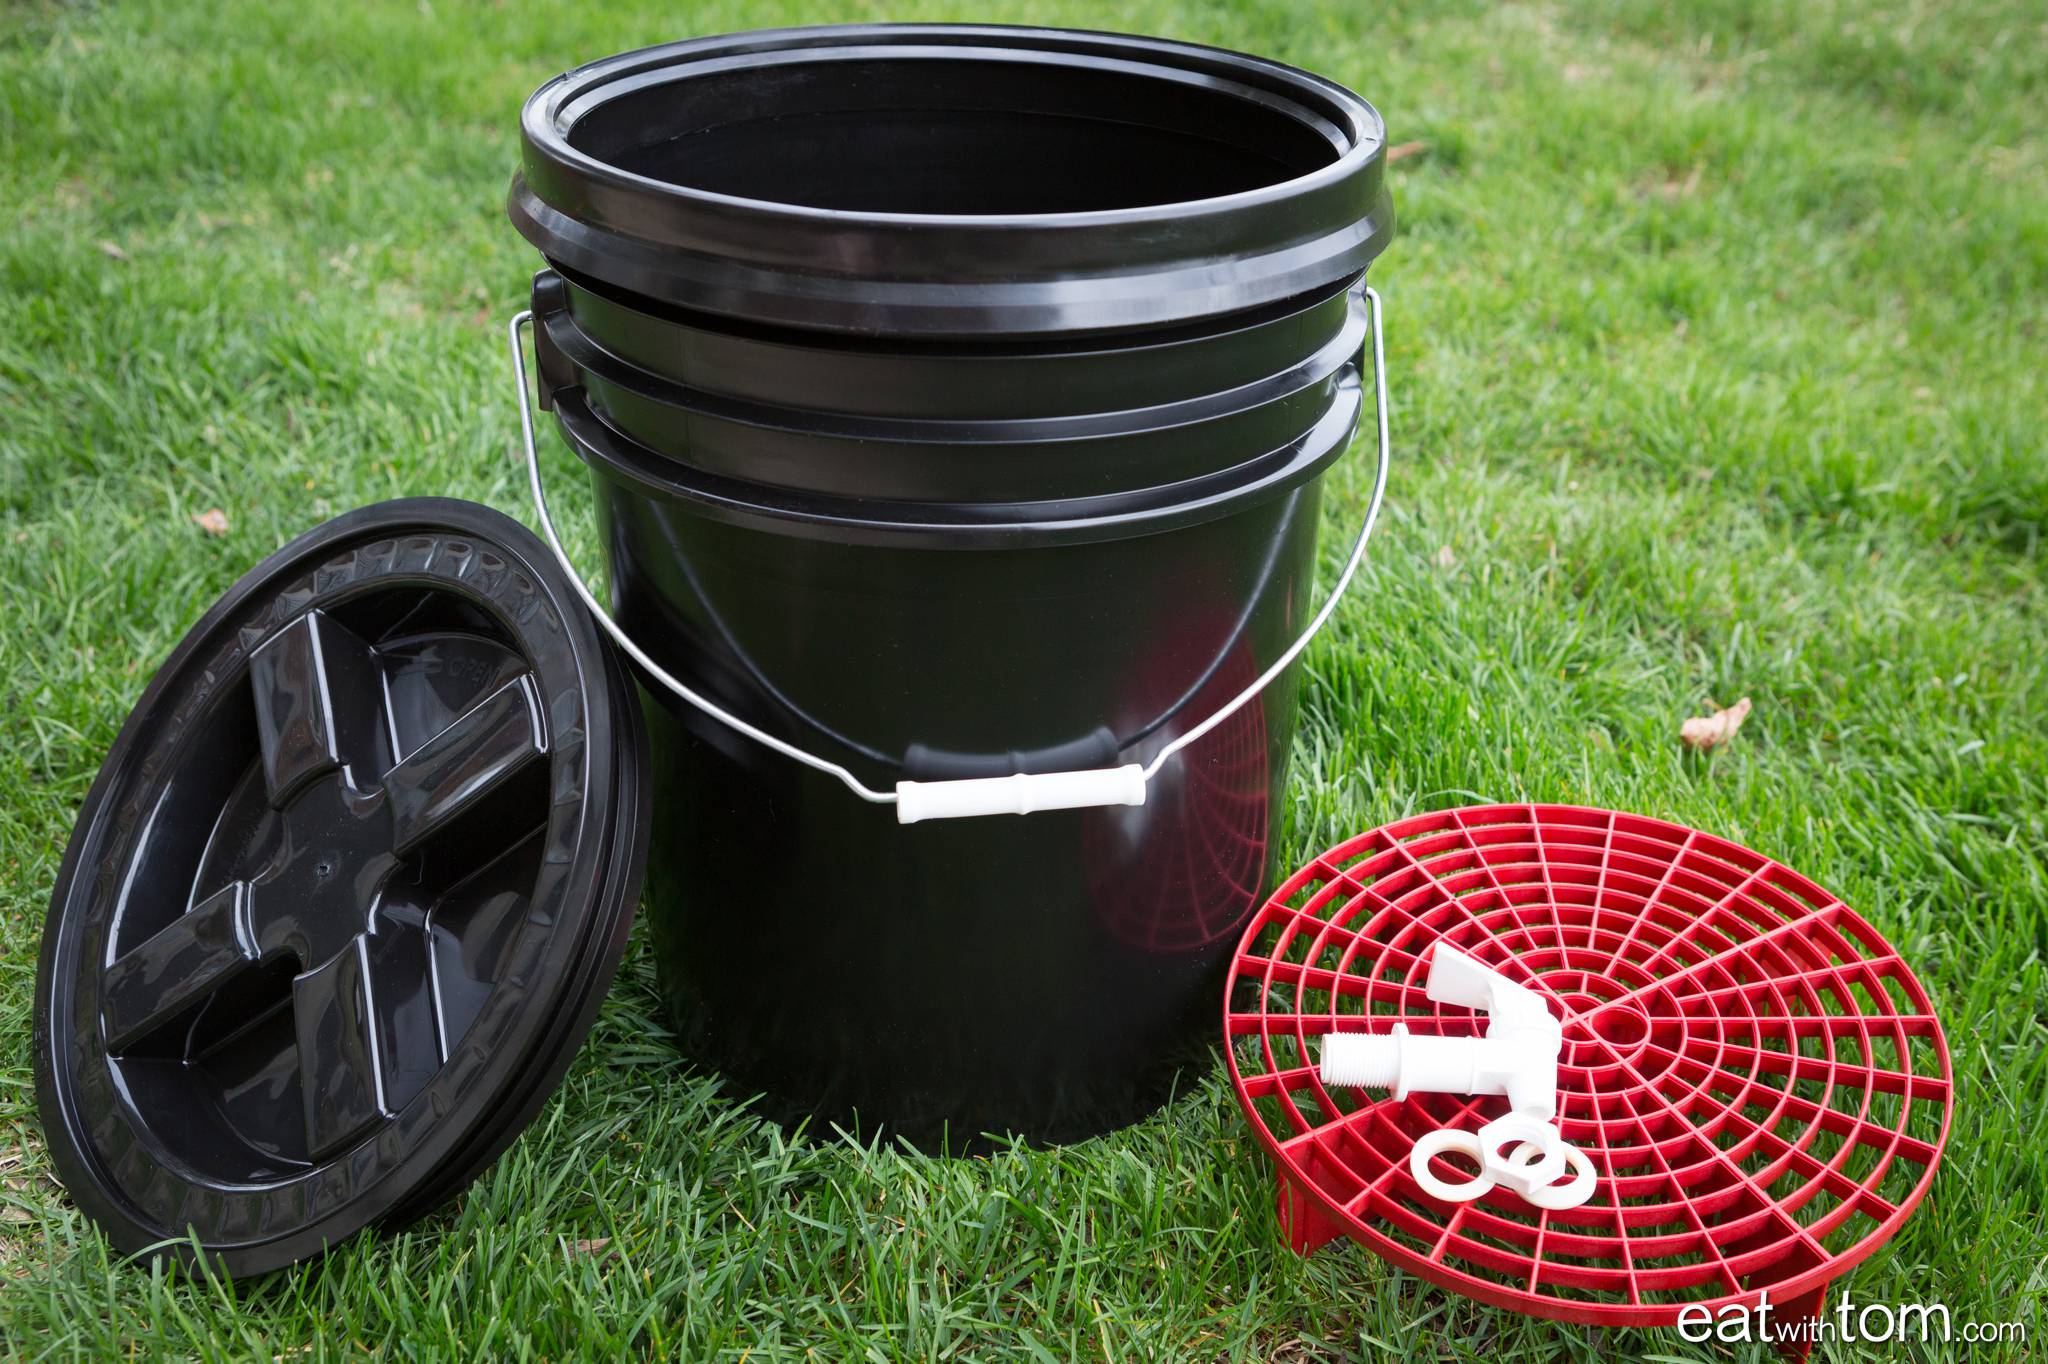
1 – 5 Gallon Plastic Bucket (food grade if possible #2 HDPE)
1 – Gamma Seal Lid
1 – Plastic Spigot with washers and nut
1 – Bag of Bokashi mix
Get a food safe 5 gallon plastic bucket. The one I got was from Uline and made of #2 HDPE plastic. Press on the Gamma Seal outer ring
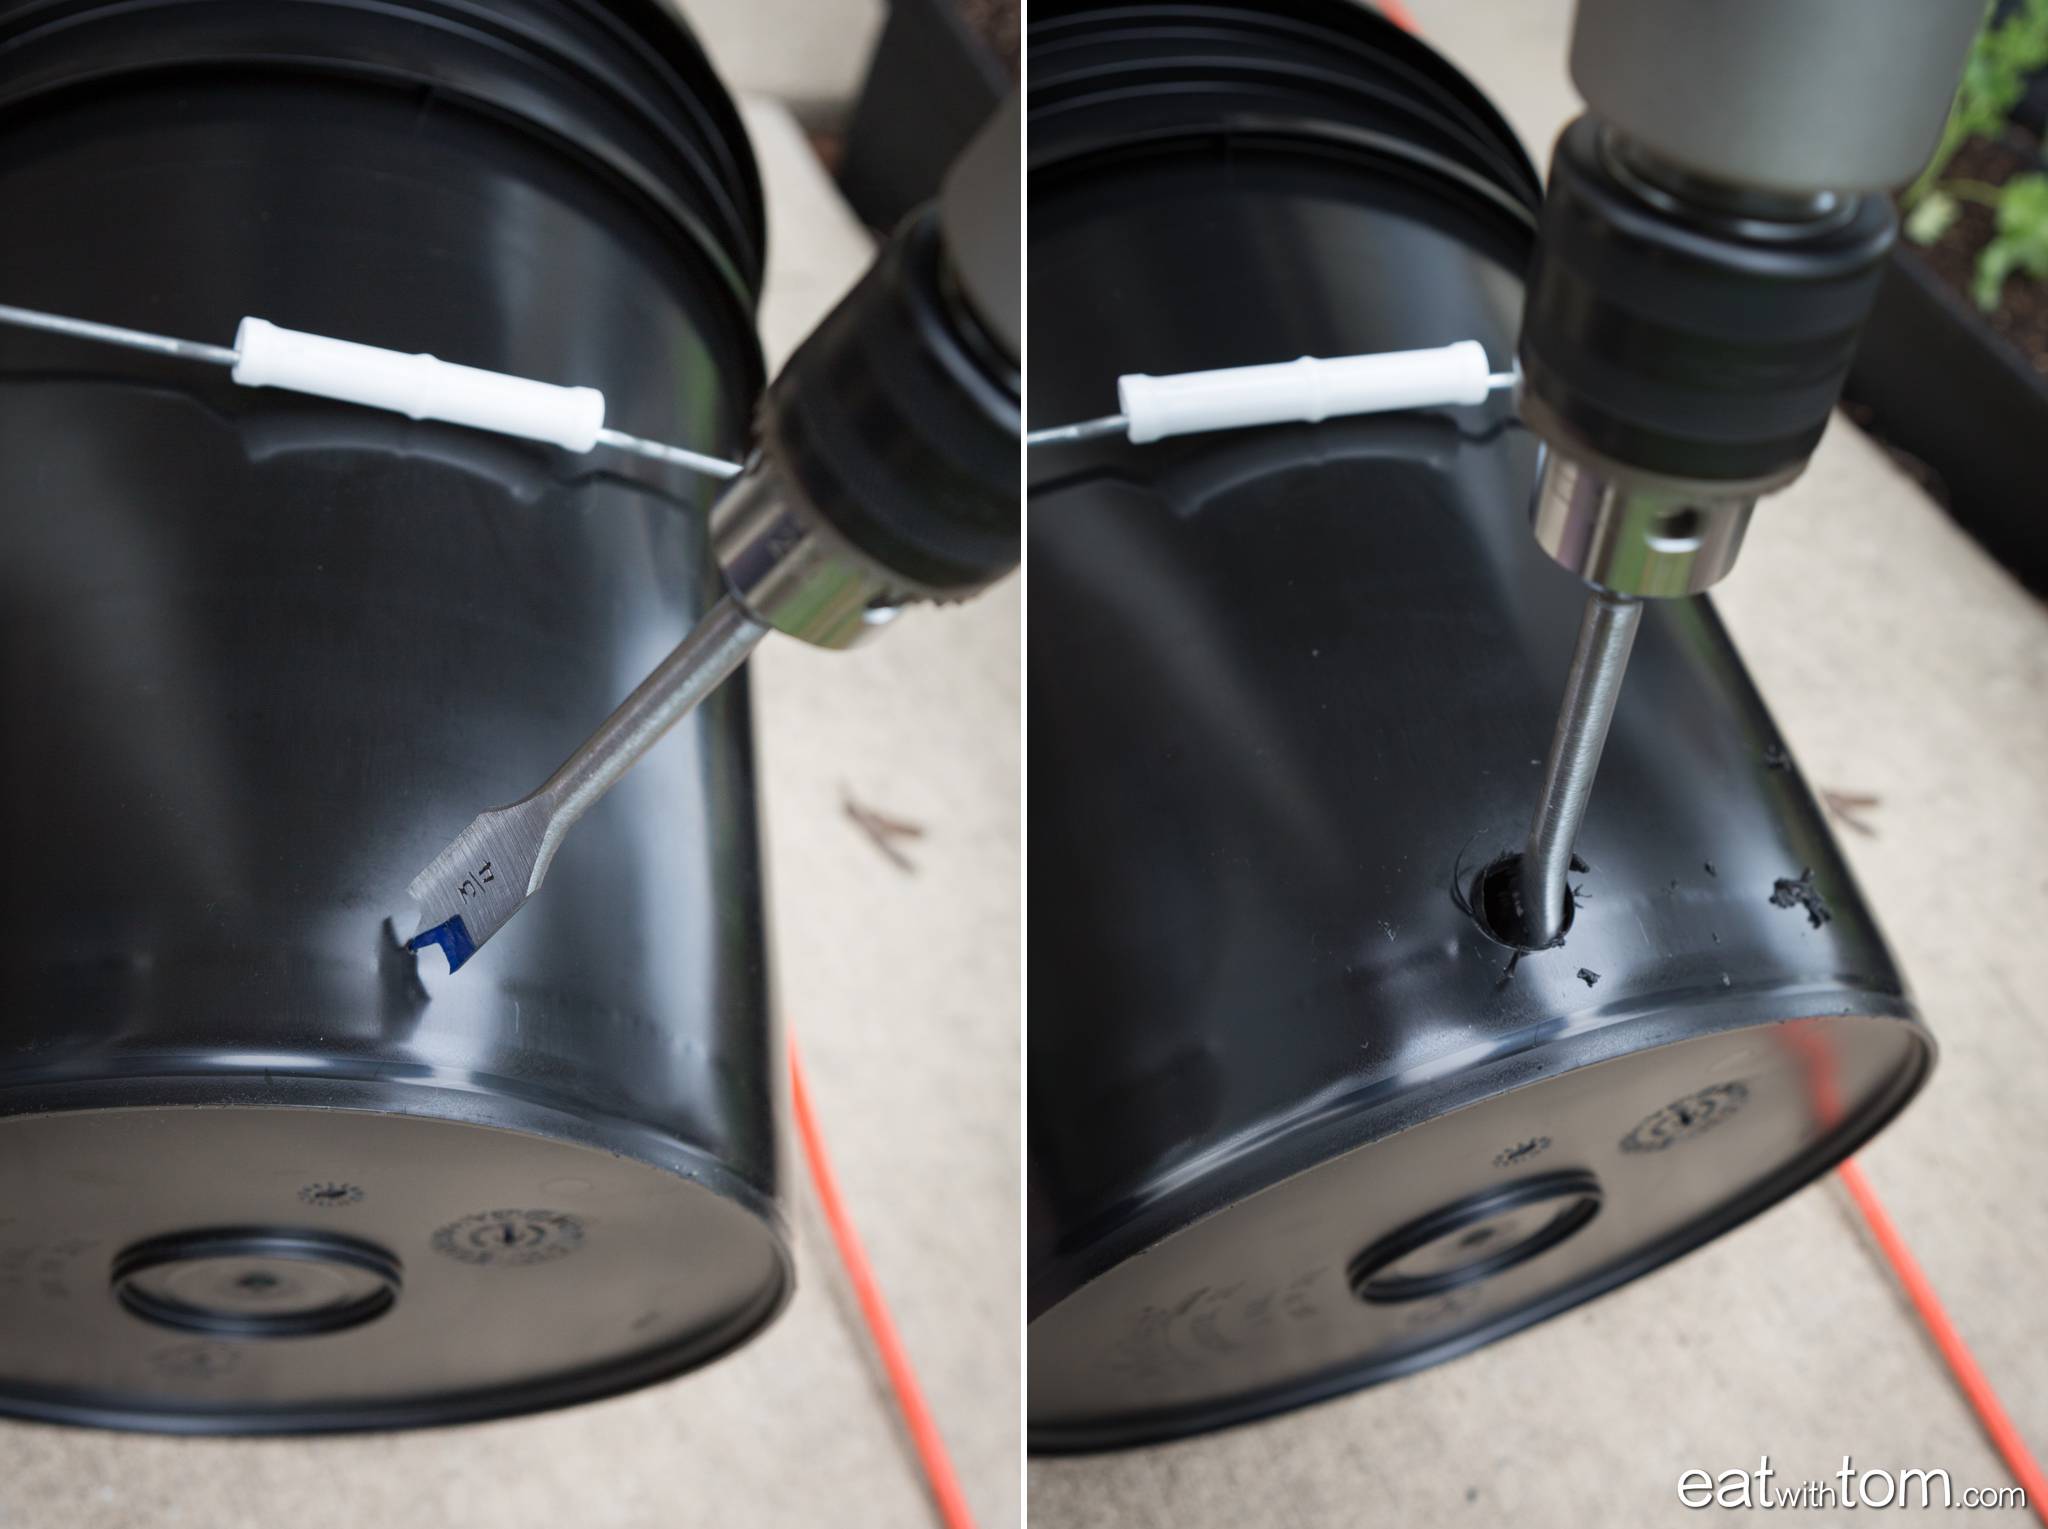
Find a plastic spigot and drill bit. This spigot is a replacement for a water filter system I think, but it was one of the cheapest. This one needs a 3/4 inch drill bit. A paddle style bit (about $4) seemed to do the job just fine. No need to spend $30 on a fancy one. Mark the bucket just up from the bottom where the spigot will be. I centered it up on the handle so it would pour easily. Drill 3/4 inch hole.

Setup the spigot with the conical washers facing towards the hole and flat side to spigot mechanism and washer respectively. The graduated shape helps to make a strong water tight seal so your compost tea doesn’t end up on the floor.

Put some clean water in just to do a quick watertight test!
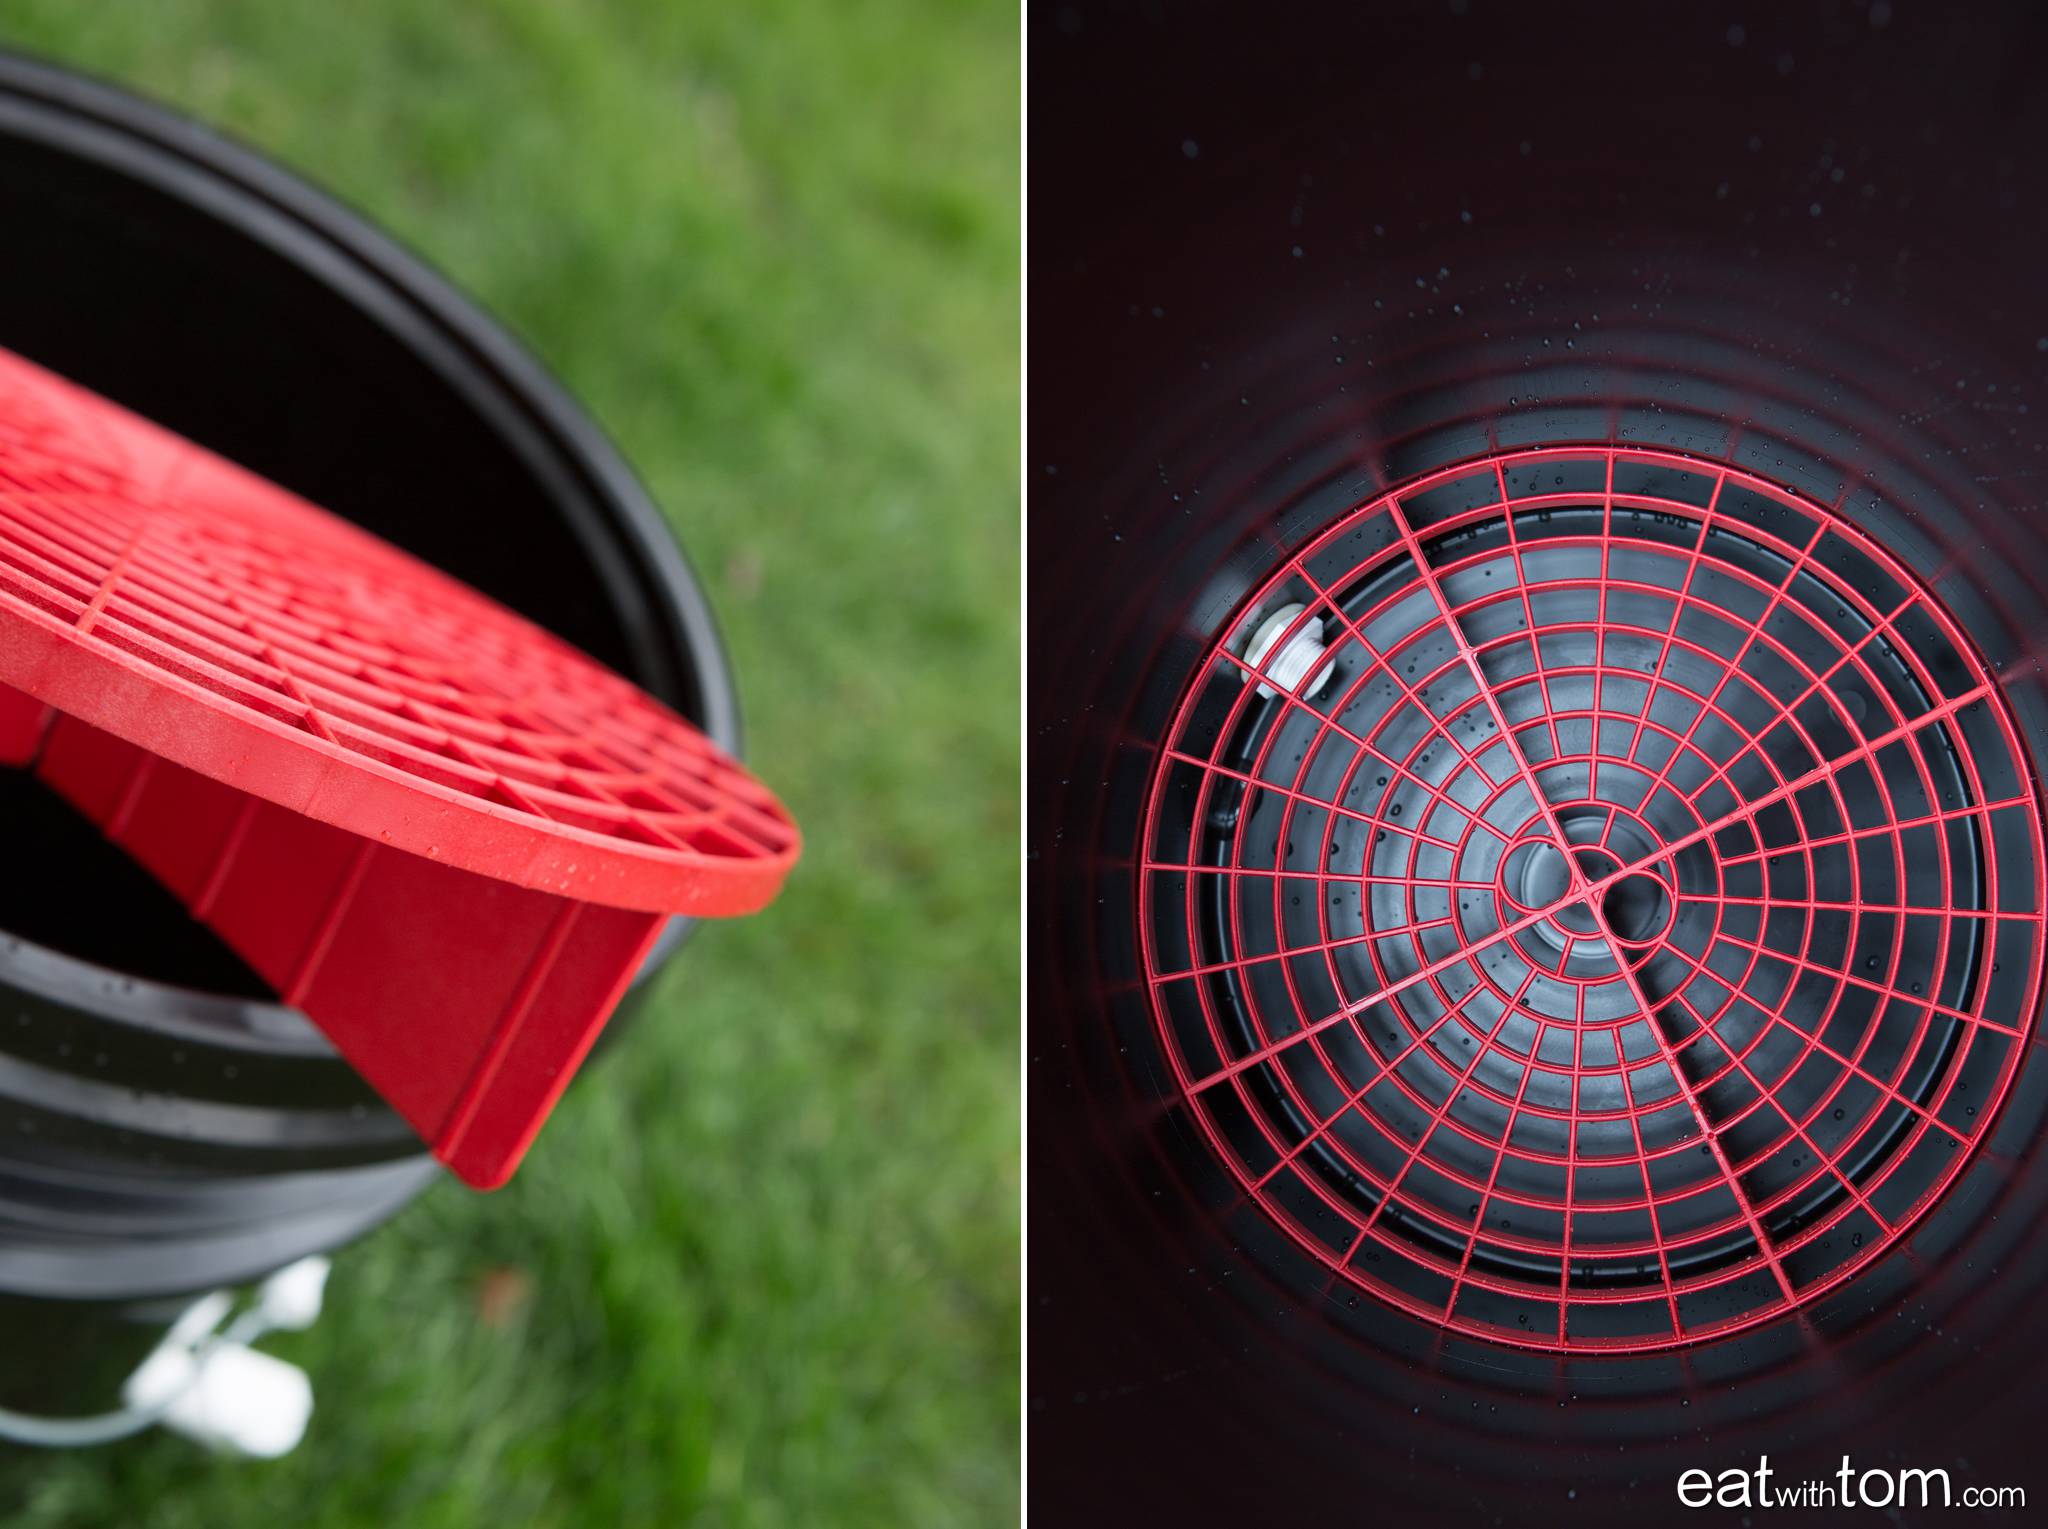
Insert Grit Guard into the bottom of the bucket to use as a riser. This will allow the liquid to drain out the compost to be poured out through the spigot.
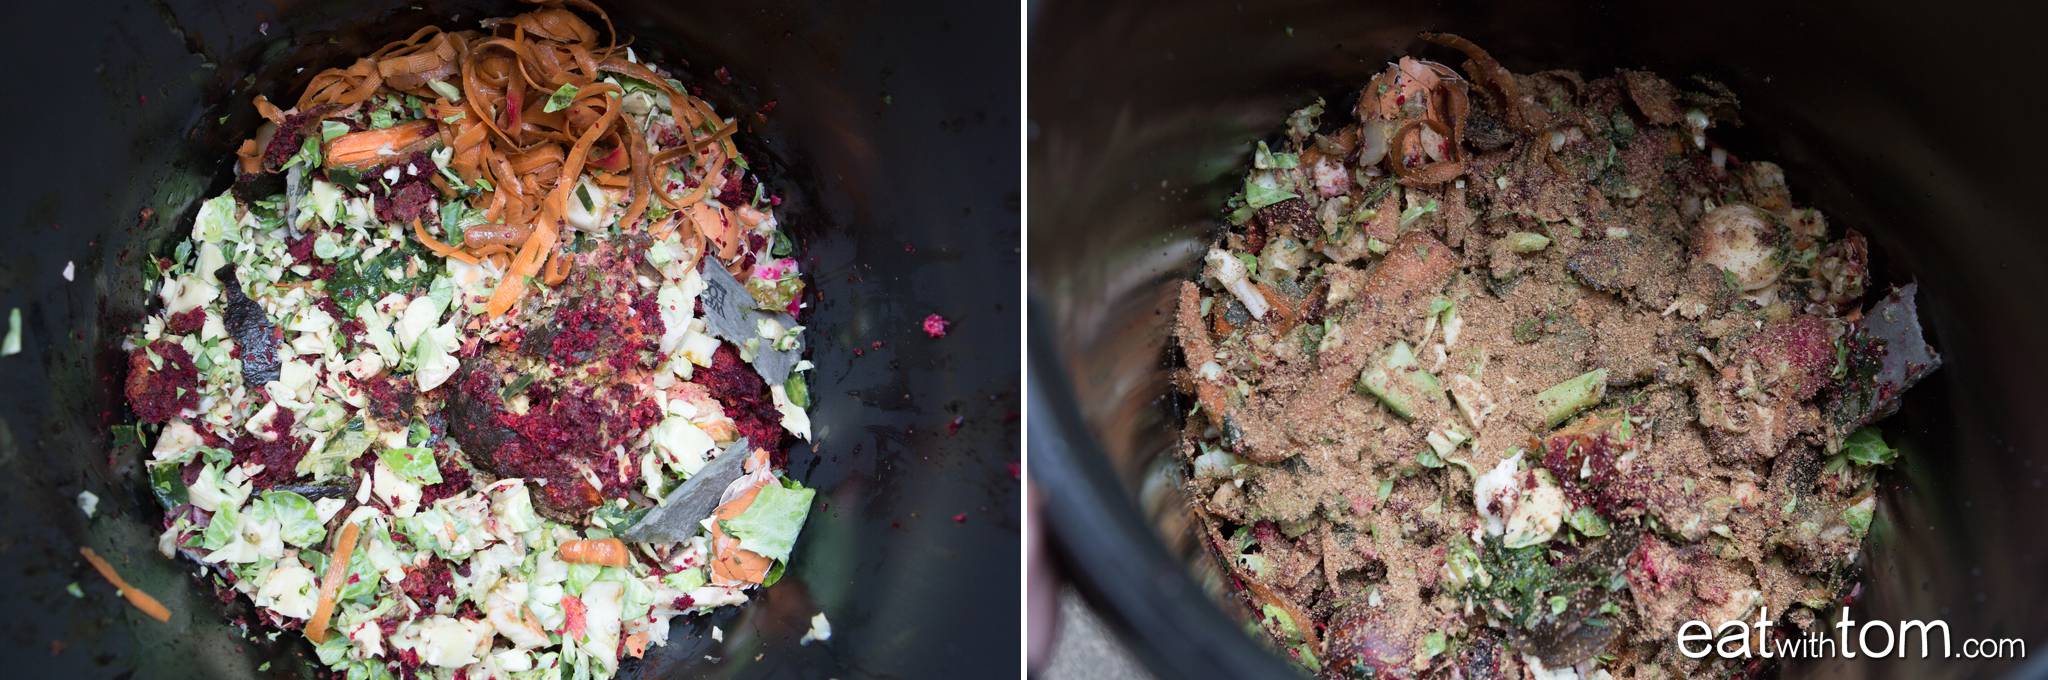
Dump food waste scraps into composter. Every 2 inches, add a couple of tablespoons of Bokashi mix on top of the food waste.
Replace Gamma Seal lid and let it cook. Once full, allow the bucket to work and the compost should be done “Bokashi-ing” in about 3-4 weeks. The “Bokashi’d” compost will need another 1-2 weeks in a traditional composter or just dump it in the garden for a few weeks to finish the process prior to adding to live plants.
Bokashi Composting Resources:
The City Gardener – How to make your own Bokashi bran

Leave a comment